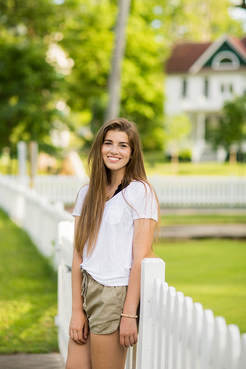
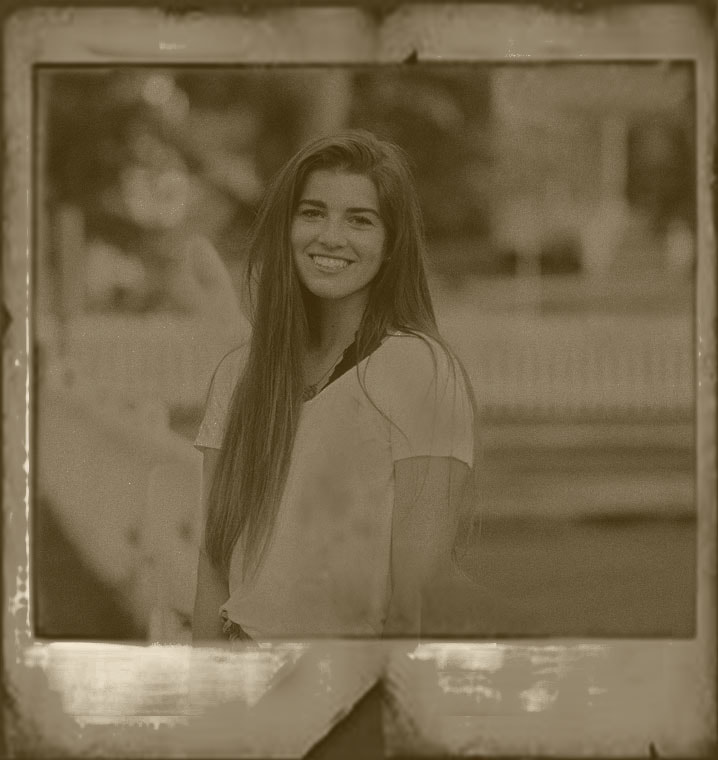
For this tutorial I turned one of my senior pictures into a vintage looking picture with a different frame and filter. I changed the tones of the picture to make it seem more vintage and also added blur and grain. The tutorial I used was from: https://www.creativebloq.com/how-to/age-a-photograph-in-photoshop-cc
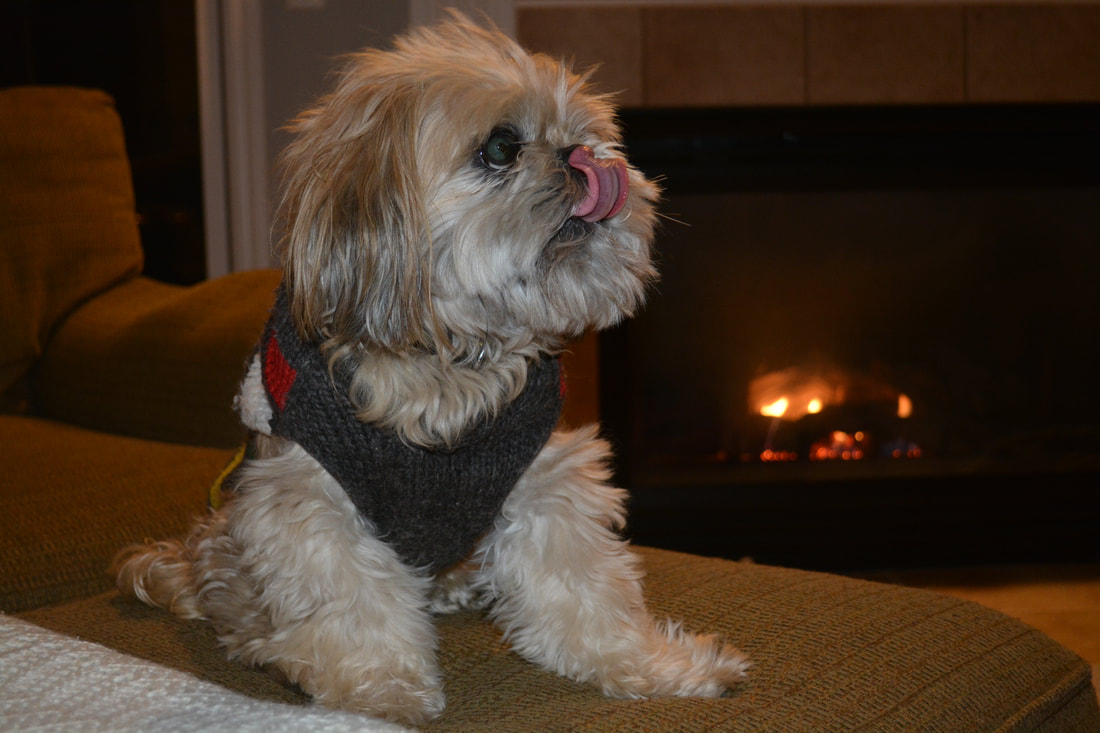
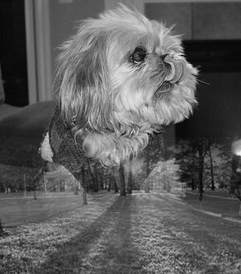
In ti=his photo, I used a picture I had previously taken of my dog and combined it with a picture of grass. To do this I used a gradient map to blend the two pictures together into one seamless picture. I learned how to use a gradient map as well as desaturating the picture to blend the two pictures together. I found this tutorial on: https://www.photoshopessentials.com/photo-effects/photo-blend/
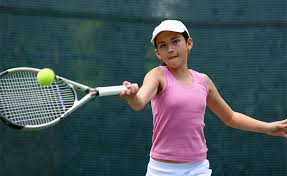
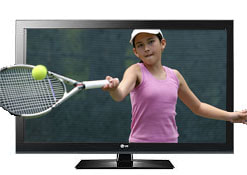
For this tutorial, I took an average picture of a girl playing tennis and added a TV screen and created a 3D effect of her playing tennis off the screen. I learned how to select parts of a picture and put them above an image to layer them and create this 3D effect. I found this tutorial on: http://www.photoshopessentials.com/photo-effects/screen-jump/
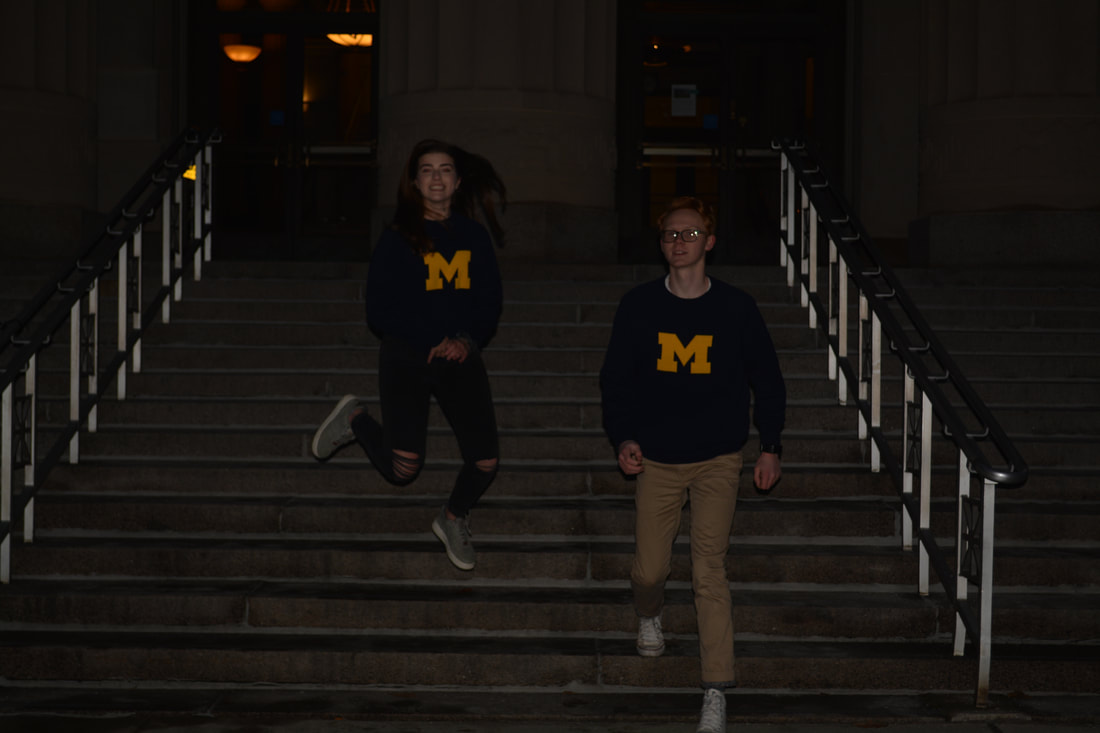
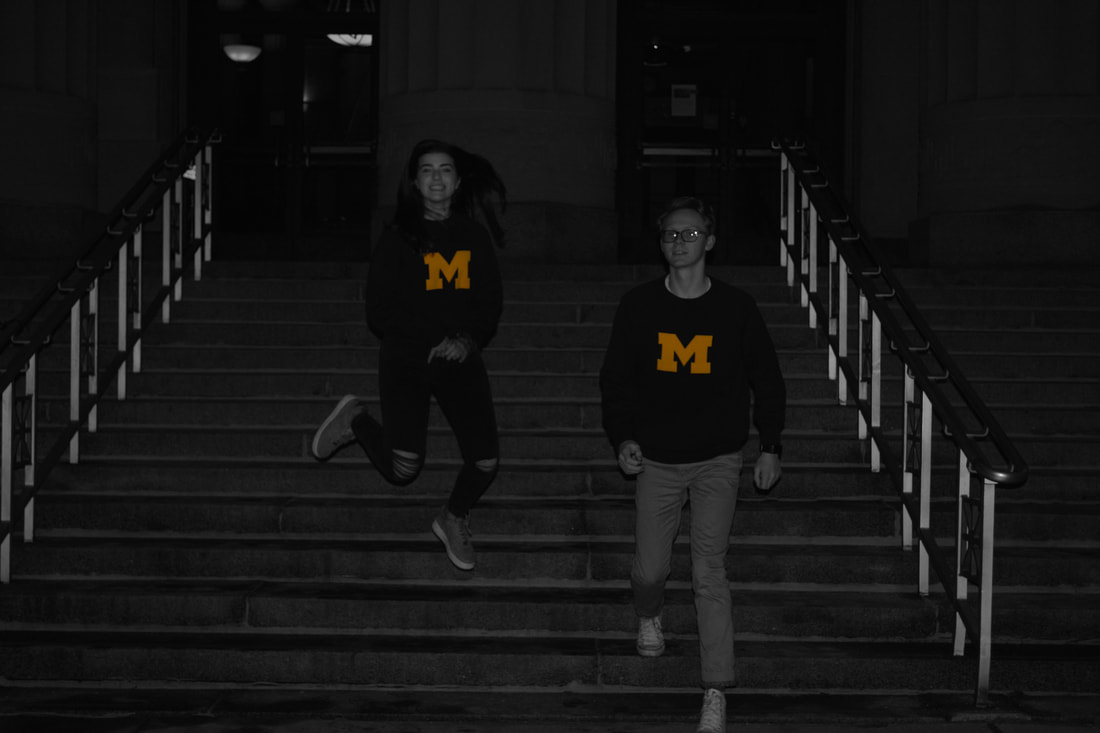
For the dash of color tutorial, I wanted to highlight the maize color of the block M on our sweaters so I chose this picture of my friend and I. I learned how to use the art history brush to get the exact color of an element and expose its color. I can use this tool in the future to highlight the color of an element of a picture.
http://www.digital-photography-school.com/mono-with-a-dash-of-colour-photoshop-cs2-tutorial 1
0 Comments
Leave a Reply. |
AuthorWrite something about yourself. No need to be fancy, just an overview. ArchivesCategories |
 RSS Feed
